Quick start
This walkthrough takes you from nothing to a first compliance position. Set aside about fifteen minutes. You will sign in, create a workspace, add a business, get a few products in with their packaging, record where and how much you place, and read the result. Every step links to the fuller page if you want more detail.
Step 1 - Sign in
Go to the app and choose how to sign in. Oblifee uses managed identity providers, so there is no Oblifee password to create or remember.
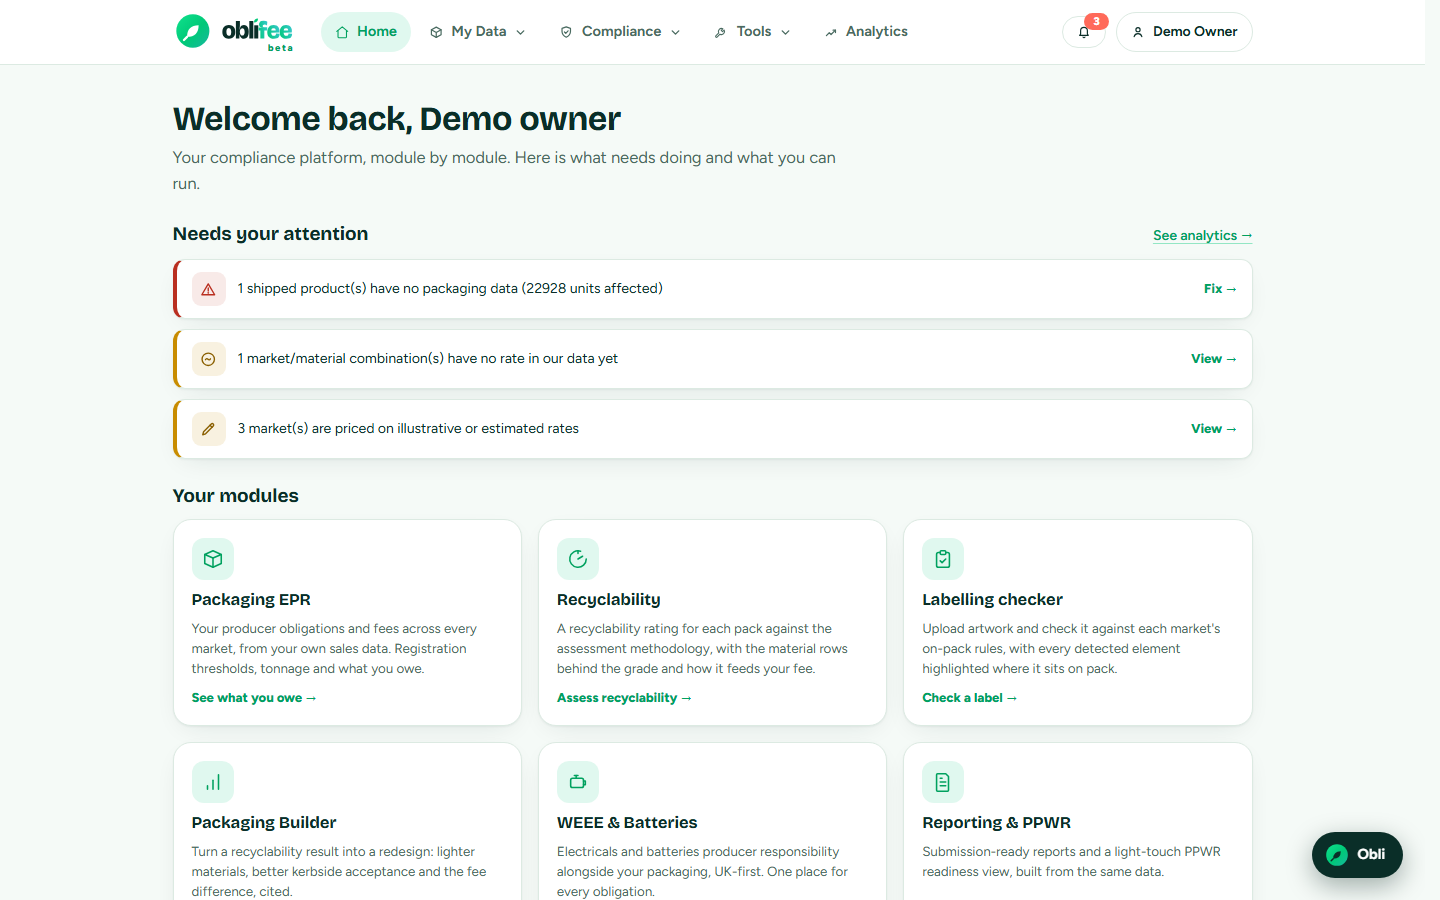
- Open the app in your browser.
- Choose Sign in with Oblifee (email or social sign-on) or Continue with Google.
- Complete your provider's prompts. You are returned to Oblifee signed in.
The first time you sign in, Oblifee creates your user automatically. See Signing in for how sessions and providers work.
Step 2 - Create your workspace
If you were invited to an existing workspace, you land straight inside it and can skip to Step 3. Otherwise you are asked to create one.
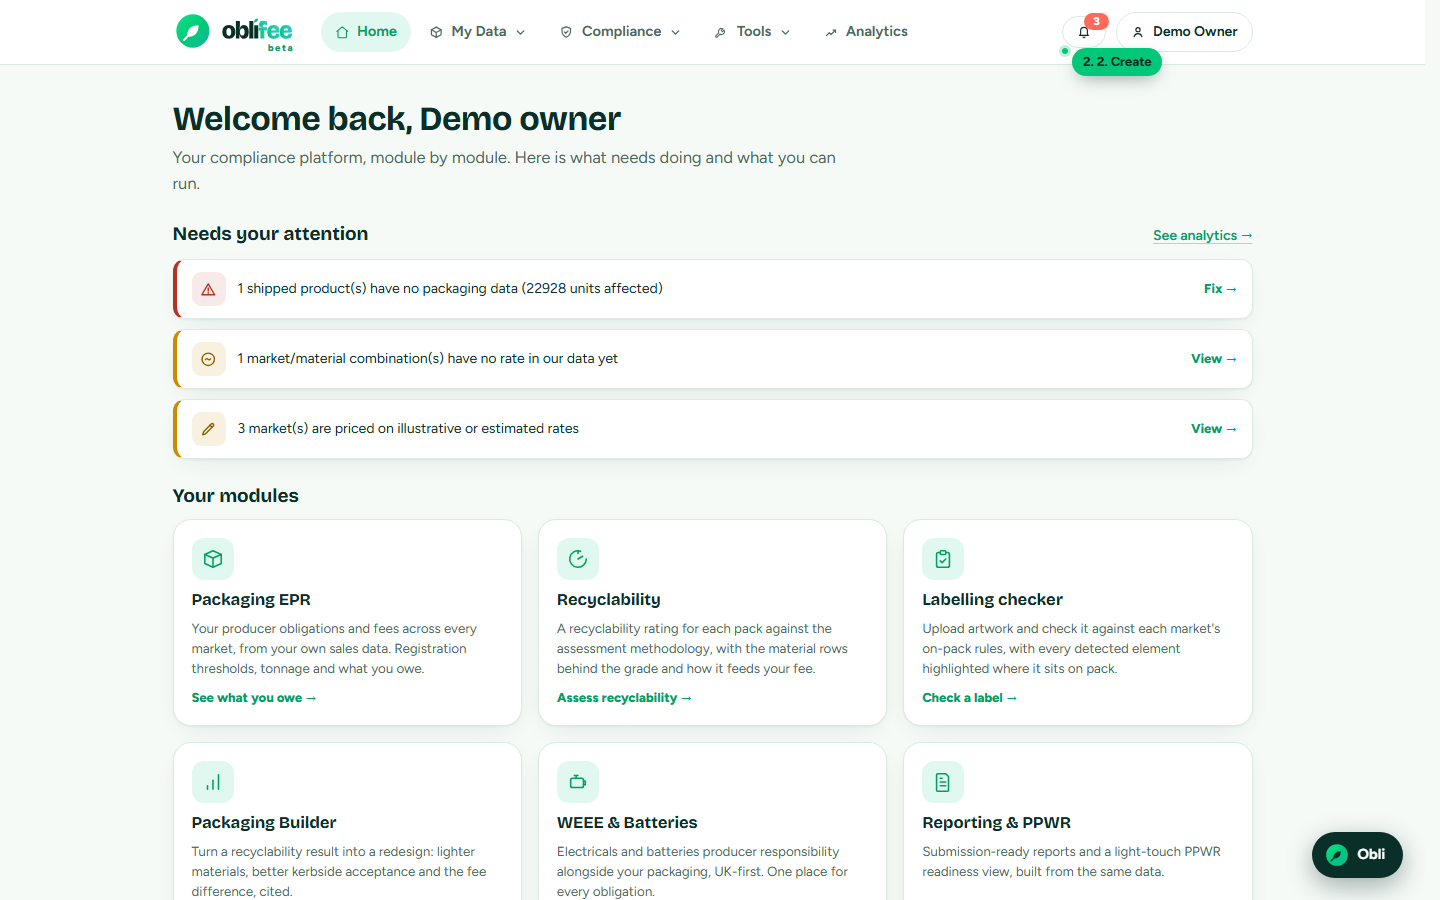
- Enter your company name.
- Select Create.
Depending on how sign-ups are configured, your workspace is either live immediately or waits briefly for approval - if it is pending, you will see a short holding screen and can come back once it is approved.
:::tip Choosing a plan A new workspace picks a plan before the modules unlock. You can start on a trial; billing covers plans and modules. :::
Step 3 - Add a business
A business is the legal entity that places goods on the market. Add at least one.
- Open the user menu (top right) and choose Businesses, or go to the Businesses page.
- In the add row, enter the business name, its country (two-letter code,
for example
GB), its currency and its sales channels. - Select Add.
- Optionally open the new business to fill in its legal entity, registered and operating addresses, and key contacts - including the person responsible for regulatory compliance.
Full detail is on Businesses.
Step 4 - Add products and their packaging
Get a few products in. You can add them by importing a spreadsheet, connecting a storefront or ERP, or entering them directly.
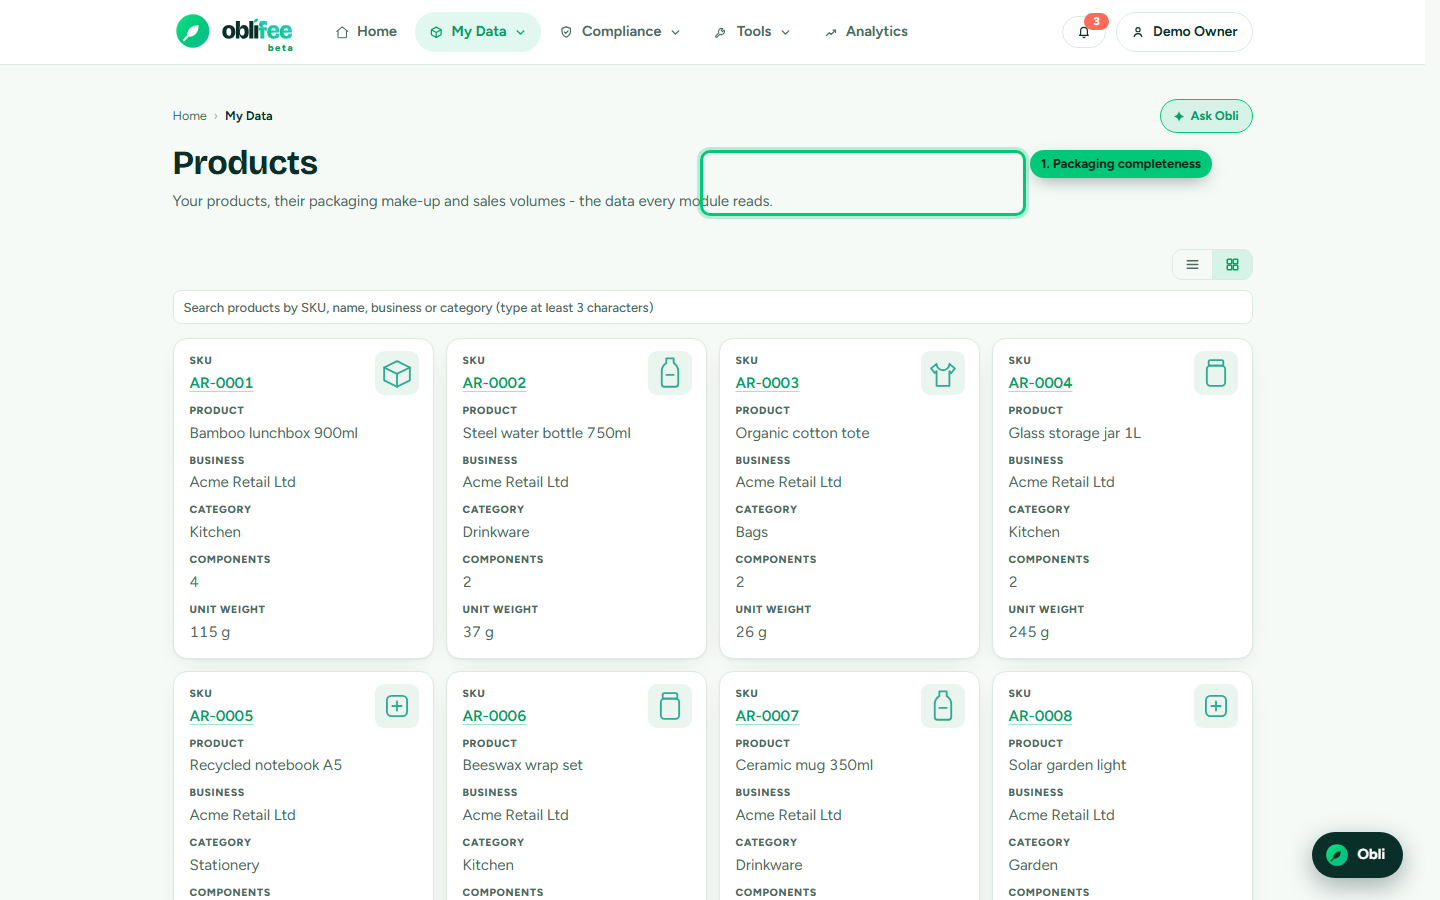
- Go to My data → Imports to bring products in from a spreadsheet, or My data → Products to review them.
- Open a product and add its packaging components - for each material, its weight in grams, whether it is recyclable, and whether it is primary, secondary or transit packaging.
- Add any named outer pack types (a case, a mailer) if you use them.
Packaging is what turns a product into a compliance figure - see Core concepts. Importing in bulk is covered in Importing your data.
Step 5 - Record volumes and markets
Tell Oblifee how much you placed, and where.
- Go to My data → Volumes.
- Add or import rows: each row is a product, a market, a period and a quantity.
- Your markets are detected automatically from these volumes - open Compliance → Markets to see them appear.
Step 6 - See your first compliance position
With products, packaging and volumes in place, Oblifee can show your position.
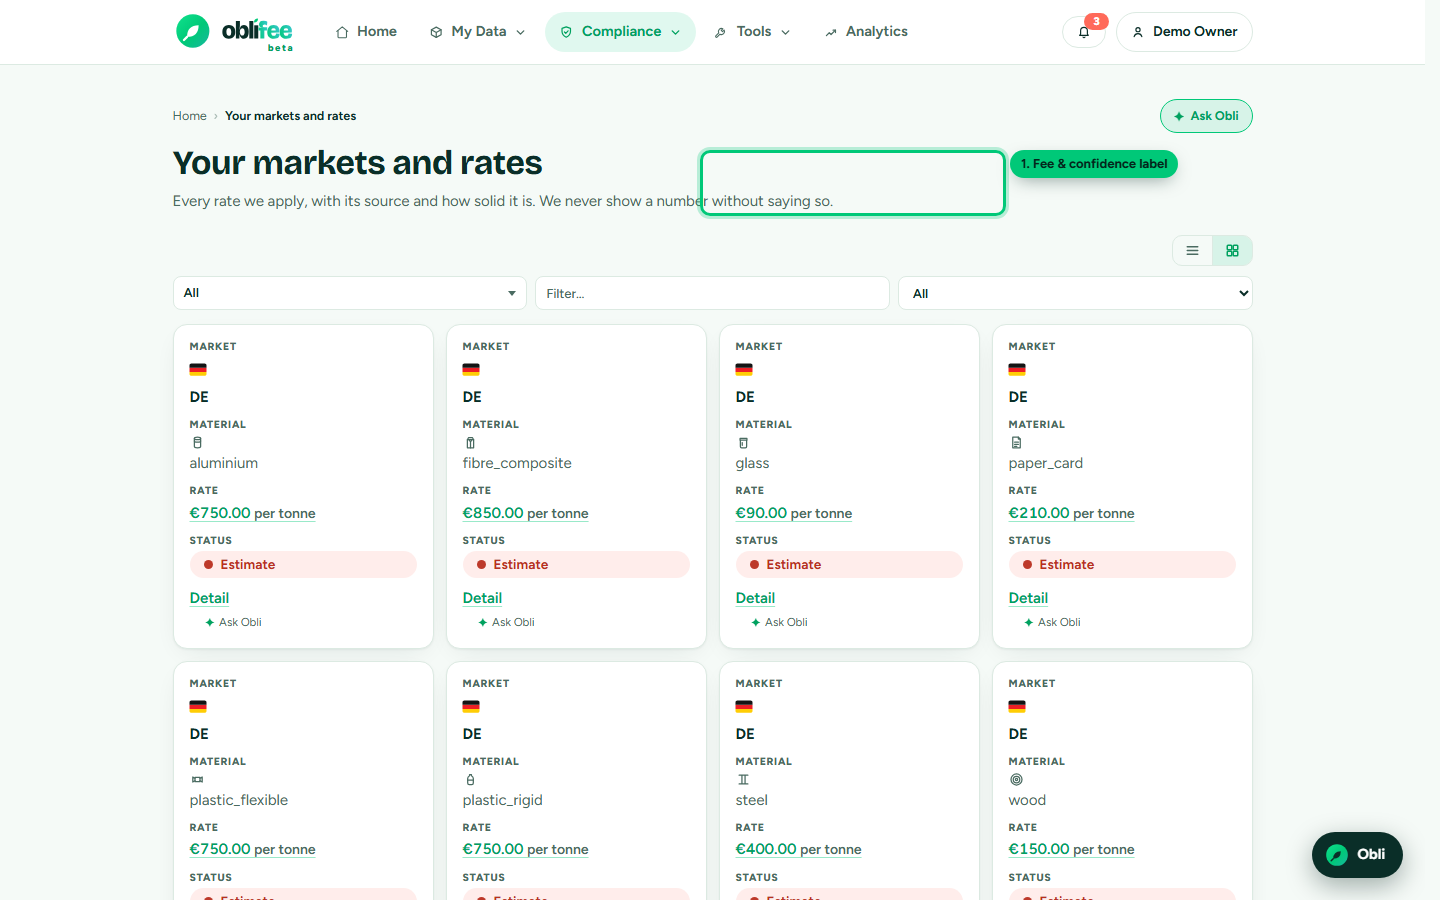
- Open Compliance → Markets for your per-market rates and indicative fees, each carrying a confidence label and a citation.
- Open Analytics (top nav) for tonnage, fee trends and totals across your whole workspace.
- Return to Home at any time for the action board: what needs attention next and the modules available to you.
:::note Honest figures Numbers are labelled confirmed, illustrative or estimate so you know how much to lean on them. See Confidence & citations. :::
Where to go next
- Navigating Oblifee - find your way around the app shell.
- Your workspace - businesses, brands, team and settings.
- Compliance modules - EPR, labelling, recyclability and more.
- Importing your data - bulk-load products and volumes.